
How to Clean a Weed Grinder
Nobody wants a grimy grinder, right? A clean grinder means it spins smoother, your weed tastes better, and you get a stronger high. Whether you’re getting ready to bake or just want to keep things fresh, knowing how to clean your grinder is key. Plus, you won’t waste a single bit of weed!
Let’s check it out!
key takeaways
Why Clean Your Grinder?
Your grinder does a lot of heavy lifting, and over time, it builds up resin, plant material, and sticky goodness. Here’s why you should clean it:
How to Clean a Weed Grinder
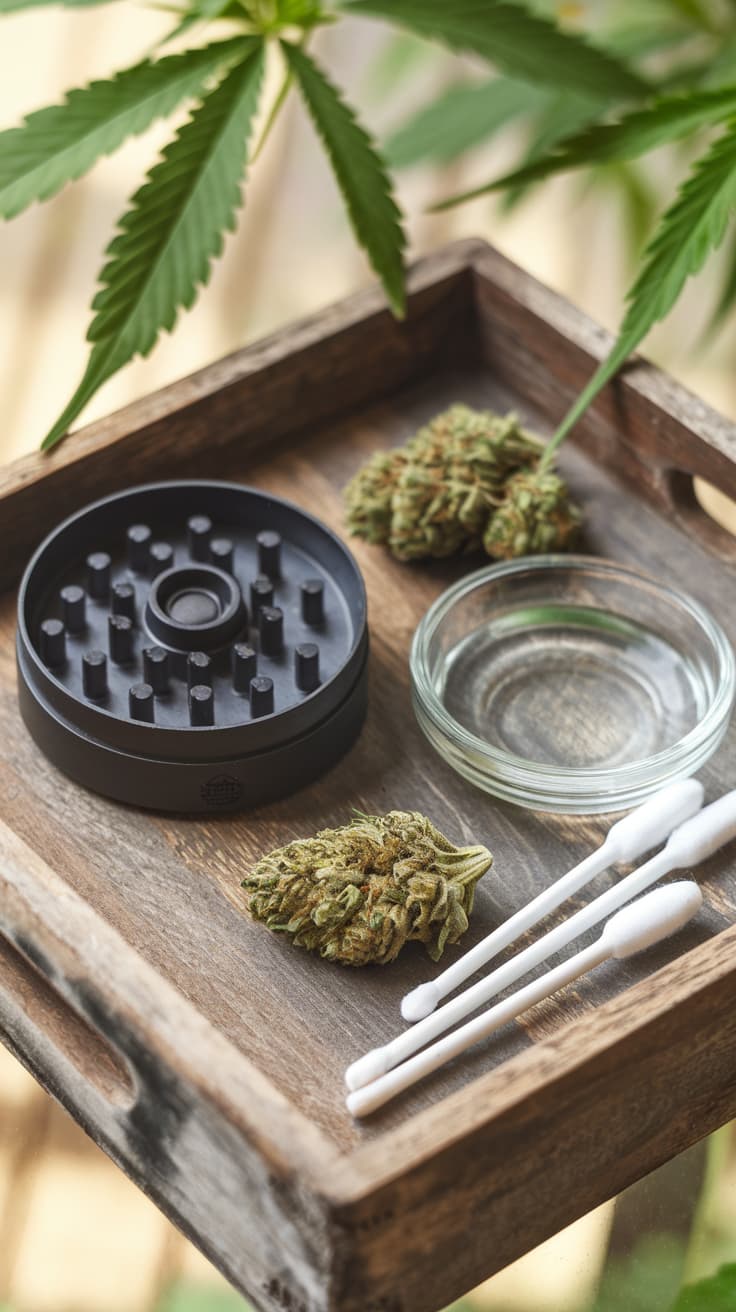
Tools:
- Isopropyl alcohol.
- A small brush.
- Toothpick or paperclip.
- Warm water.
- Dish soap.
- Freezer.
- A drying towel.
Instructions:
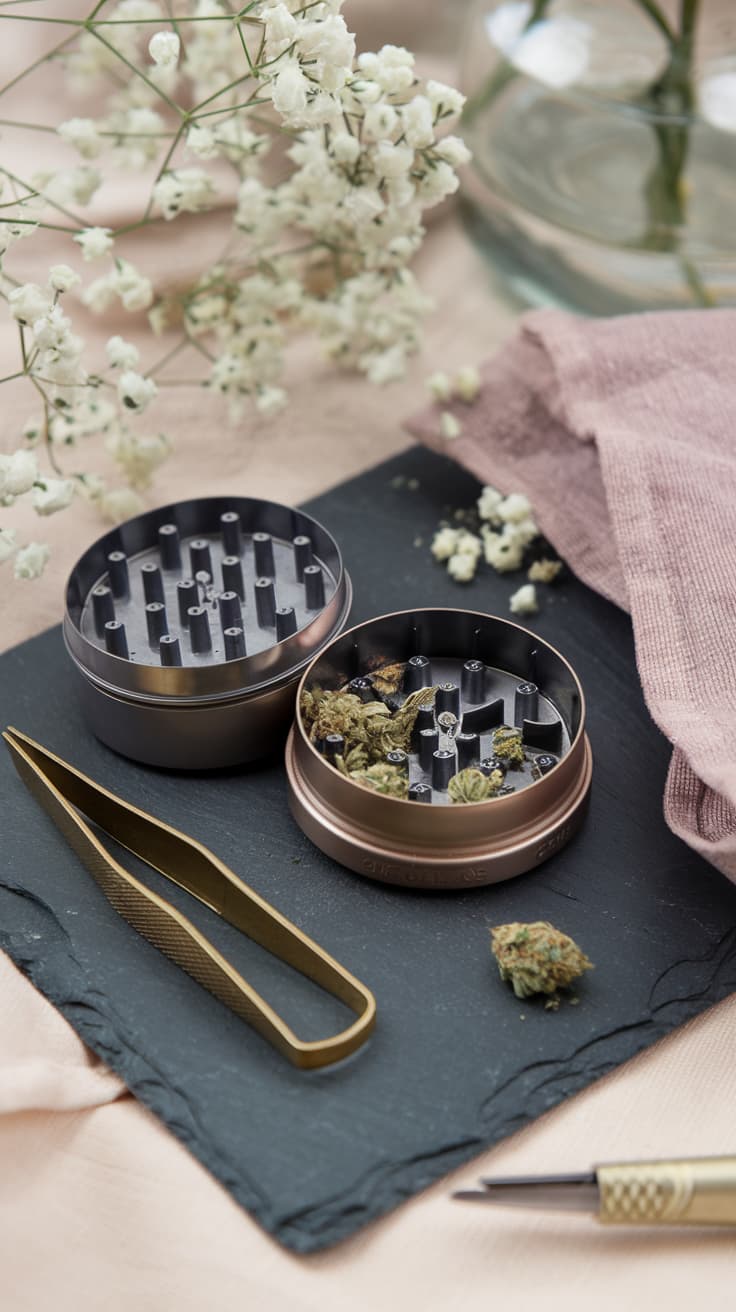
1. Disassemble your grinder: Take apart every piece… lid, grinding chamber, kief catcher. If your grinder has multiple sections, separate them carefully.
💡 Quick Tip: Pop your grinder in the freezer for 30 minutes before cleaning. This hardens any sticky residue, making it easier to scrape off (and save for later).
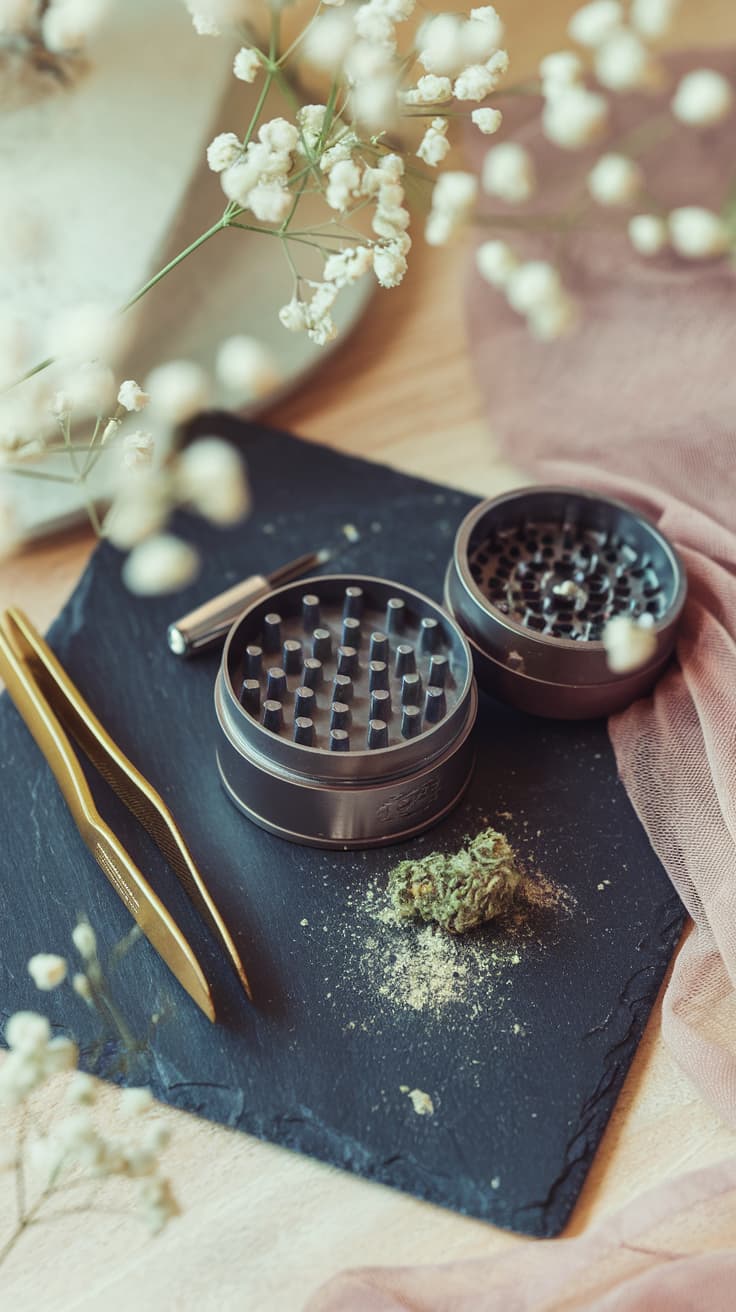
2. Tap out & collect: Hold your grinder upside down and give it a good tap over a clean surface or piece of parchment paper. Use a brush or toothpick to gently scrape any stuck cannabis into a small container to use it on other edibles.
3. Deep clean with alcohol (for Metal Grinders): Place the pieces in a small bowl and pour in enough isopropyl alcohol to fully submerge them. Let them sit for 20-30 minutes, stirring occasionally. After soaking, use a brush or toothpick to remove any leftover residue.
🔥 For Plastic or Acrylic Grinders: Skip the alcohol, it can degrade the material. Instead, soak in warm, soapy water and scrub gently.
4. Scrub and rinse: After soaking, use a toothbrush to scrub each piece, focusing on the grinding teeth and kief screen. Rinse under warm water until all residue is gone.
5. Dry completely: Use a towel to pat dry, then let the pieces air dry for at least an hour. Moisture = mold, and we don’t want that.
How to Keep Your Grinder Clean Longer?
A clean grinder = better edibles, smoother grinding, and zero wasted kief. Make this a regular part of your cannabis routine, and your infusions will thank you! Now that your grinder is fresh and ready to go, why not check out my recipes to make your next batch?