Decarboxylation Guide
Ever baked a whole pan of pot brownies and felt like they barely hit the spot? You’re not alone. The secret to strong edibles isn’t just good vibes (though those never hurt!), it’s all about something called decarboxylation.
This process activates the cannabinoids, like THC and CBD, turning them into the potent powerhouses you crave in your edibles. No more wondering if your brownies will hit the spot, with decarboxylation, you’ll be baking bliss one batch at a time!
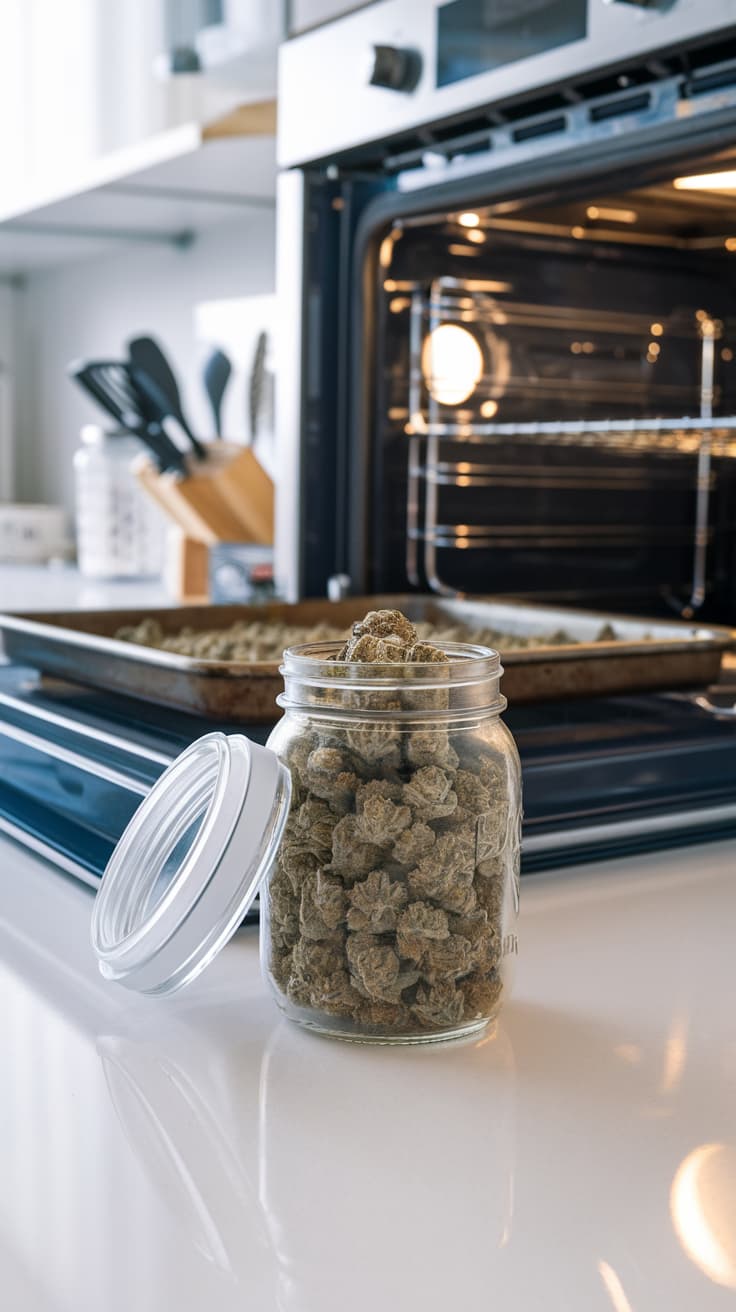
Understanding Decarboxylation
Those beautiful cannabis buds you have are full of potential, but some of the main players, THCA and CBDA (the acidic precursors of THC and CBD), are like shy guests at a party. They haven’t quite loosened up and revealed their true effects!
With a little heat, we can gently nudge them to release a carboxylic acid group. Poof! Just like that, they turn into the active forms we all know and love: THC, which gives you that heady feeling, and CBD, famous for its chill vibes.
Now the party can really get started! Decarboxylation opens doors to a wider range of uses for your cannabis. The decarboxylated flower can be infused into butter, oil, tinctures, or even sprinkled on top of your favorite dishes for a more versatile edible experience.
How to Decarb Weed
Alright, canna-chefs, let’s get to the fun part: activating those cannabinoids! I´ll teach you how to do it with your oven (and for good reason), It’s straightforward, reliable, and won’t require any fancy gadgets.
Tools:
- Oven.
- Grinder.
- Baking Sheet.
- Parchment Paper.
- Oven Thermometer (optional).
Instructions:
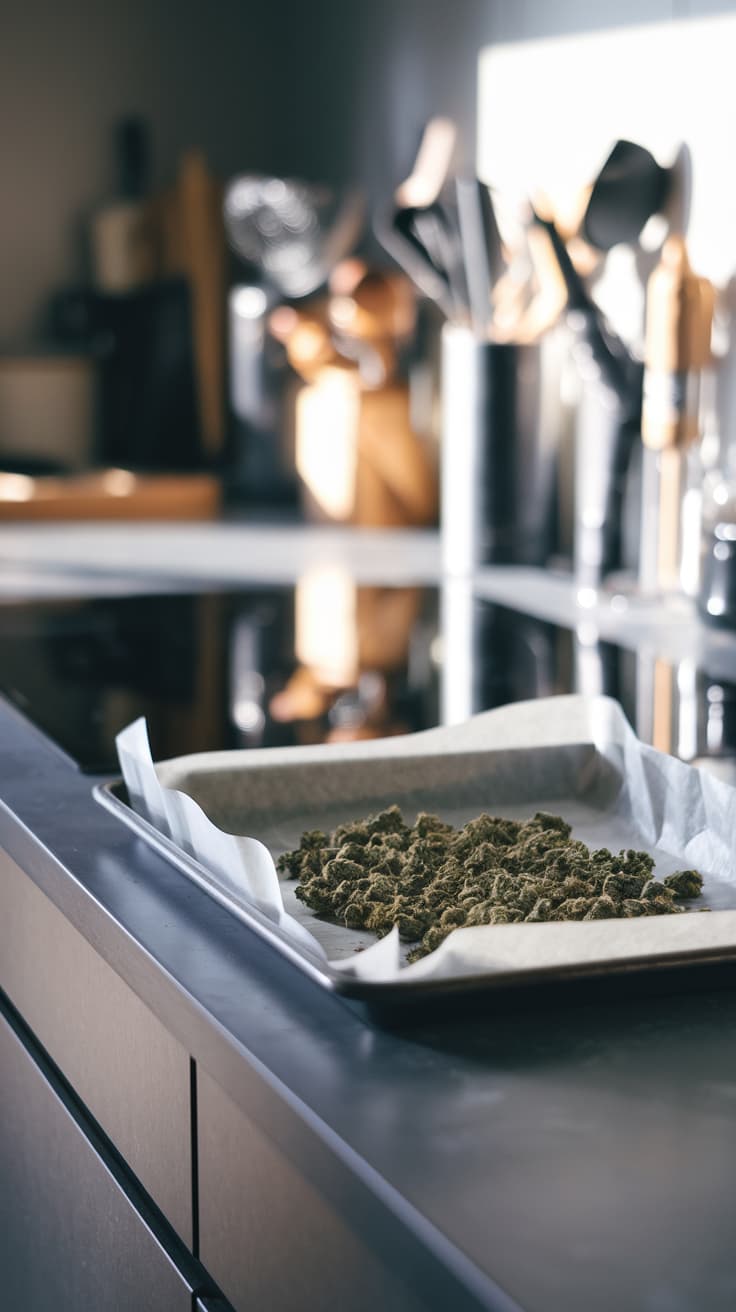
1. Warm Up the Oven: Set your oven to around 220-240 degrees Fahrenheit. This sweet spot helps activate the good stuff without burning your weed into a crisp.
2. Bake It Up: Now, how long should you bake this stuff? Well.. you can use my decarb calculator or aim for about 30 minutes, but keep an eye on it. You don’t want to burn it, right?
3. Give it a Stir: Every now and then, give your weed a little stir. This helps it cook evenly.
4. Sniff and Check: Once it’s done, your weed should look golden brown and feel dry and crumbly. It’ll also smell stronger than before. The exact smell will depend on the strain, but it might be earthy, gassy, sweet, or citrusy.
5. Let it Chill: Allow your weed cool down before you touch it or cook with it. This helps to prevent the loss of compounds and ensures that the cannabinoids are fully activated!
6. Store Properly: Don’t let your hard work go to waste! Store it right and use it within 3 months. For the best storage practices, consult my storage guide.
Common Decarboxylation Methods
There are other few common ways to decarboxylate your cannabis, each with its pros and cons depending on your kitchen setup and personal preference.
Let’s dive into the most popular methods:
Mason Jar Decarboxylation
Decarbing your weed in a mason jar is a great trick to keep your kitchen smelling fresh! Those smelly compounds that escape during heating stay trapped inside and they even get infused into your final product, making it extra potent!
Here’s a simplified breakdown:
How it works: A mason jar is used to contain cannabis during the decarboxylation process, which helps reduce the smell and provides a more controlled environment compared to open baking.
Instructions:
- Set the oven to 220–240°F (105–115°C).
- Break the cannabis into small sized pieces (don’t grind it into a powder).
- Place the cannabis in a clean, dry mason jar, loosely filling it.
- Seal the jar with its lid (not too tight).
- Place the jar on a baking sheet and heat it in the oven for 30–40 minutes.
- Shake the jar every 10 minutes to ensure even heat distribution.
- Remove the jar from the oven and let it cool before opening.
| PROS | CONS |
|---|---|
| Reduces odor significantly. | Slight risk of uneven heating or overheating. |
| Budget-friendly method. | Less precise temperature control. |
Sous Vide Decarboxylation
Sous vide is a technique often used for high-end cooking, but we (the adventurous canna-chef), also use it to decarb our cannabis.
Here’s a quick overview:
How it works: Cannabis is placed in a vacuum-sealed bag and heated in water at a precise temperature.
Instructions:
- Seal cannabis in a vacuum bag or airtight jar.
- Heat water to a consistent temperature (usually 203°F/95°C).
- Submerge the bag/jar in the water bath for 90 minutes.
- Let it cool before use.
| PROS | CONS |
|---|---|
| Precise temperature control. | Requires special equipment. |
| Preserves terpenes. | Risk of water leaks. |
Decarboxylation Devices
Looking for a more hands-off approach? Don’t worry, there are awesome tools (like the Ardent FX) that can take the stress out of it. These gadgets pretty much do everything for you! Just pick your temperature and set a timer, then relax.
Here’s what you’ll need:
How It Works: Lets take the Ardent FX for example. This decarboxylation device designed to activate cannabinoids with exact temperature and timing controls, ensuring minimal loss of potency and terpenes.
Instructions:
- Break the cannabis into small pieces, but no need to grind.
- Place the cannabis directly into the chamber of the Ardent FX.
- Choose the appropriate decarb cycle for your desired cannabinoid (THC or CBD).
- The device automatically adjusts the temperature and time.
- Once the cycle is done, let the device cool before removing the decarbed cannabis.
| PROS | CONS |
|---|---|
| Fully automated process. | Expensive upfront cost. |
| Consistent results every time. | Limited capacity for large batches. |
Remember: Regardless of the method you choose, the key is to decarboxylate, not incinerate! Patience and low heat are your friends for achieving that perfectly potent decarboxylated cannabis.
Tips and Tricks for Successful Decarboxylation
I’ve spent enough time in the kitchen to learn some of the best tips to turn your cannabis into the perfectly activated base for your next edible masterpiece. Here’s how to make sure your decarb party is a success:
- Grinding Matters: Grinding your herb consistently is super important for even decarboxylation. You want it to look kinda like coarse sand.
Don’t have a grinder? Put your weed between two sheets of parchment paper and give it a good roll with a rolling pin. You will have similar results!
- Monitor Like a Chef: Keeping an eye (and nose) on your decarbing cannabis is crucial! The smell will change slowly, going from grassy to nutty. And your herb will turn a nice golden brown.
- Temperature is King: Don’t blast your weed with heat, that will leave you with something bitter and way less potent. The key is low and slow!
Using Decarboxylated Cannabis in Edibles
Safety Considerations
Alright, we’ve talked science, methods, and the delicious possibilities that await. But before you turn your oven into a potent pot palace, let’s address some safety precautions. Because, as much as I love a good batch of canna-brownies, nobody wants their decarb adventure to end up with firefighters instead of satisfied friends.
- Ventilation is Your BFF: Decarbing can get a little… aromatic. To avoid complaints from roommates or lingering odors that might tip off the in-laws, crack open a window or turn on your exhaust fan.
- Sweet Treats, No Heat: We’re aiming for activation, not incineration. Use a baking sheet to spread out your cannabis evenly, and for the love of all things bud, avoid going freestyle with open flames or directly placing your herb on the oven rack.
- Heatproof Hands: Make sure to use oven mitts, they block burns and keep things clean if you gotta move the tray around.
- Keep it Out of Reach: Decarboxylated cannabis is potent, so Store it in an airtight container with a childproof lid, and somewhere those curious paws or tiny hands can’t reach.
See, nothing scary. With these simple steps, you’ll be well on your way to delicious, potent edibles.
Troubleshooting Common Decarboxylation Issues
Even cannabis cooking experts can mess up decarbing sometimes. No worries though, these problems are easy to fix! Let’s see what can go wrong and how to get your decarb on point!
My Weed Looks Unevenly Browned
This usually boils down to temperature control. Ovens can have hot spots, so consider using an oven thermometer to ensure even heat distribution. Grinding your herb to a consistent size helps too, creating a more uniform surface for decarboxylation.
Decarbed Weed Doesn’t Smell Like Much
There are two possibilities. First, you might have under-decarboxylated. Give it a few extra minutes, keeping a close eye to avoid burning. Second, some strains have a subtler aroma, even after decarboxylation.
Don’t despair, the psychoactive effects will still be there, it just might be a bit of a flavor surprise in your edibles.
My Kitchen Smells Like a Challenge
This is a common concern, especially for apartment dwellers. Mason jar decarboxylation is your friend here. It traps the odor and keeps your home smelling like a freshly baked apple pie instead of, well, something else entirely.
Common Questions
Can I Skip Decarboxylation?
No, you can’t skip decarboxylation if you want to activate the psychoactive compounds in cannabis. Skipping it might result in weak or no effects from your edibles.
How Long Will Decarboxylated Cannabis Stay Potent?
The potency of decarboxylated cannabis depends on how you store it. With proper storage, decarboxylated cannabis can stay potent for several months.
At What Temperature Does Decarboxylation Occur?
Decarboxylation typically occurs between 220°F and 240°F. Lower temperatures take longer, while higher temperatures can degrade cannabinoids and terpenes.
Does Heating Up Weed Make It Stronger?
Yes, heating weed makes it stronger. This process, called decarboxylation, activates compounds like THC and CBD, increasing their potency.
Can I Decarb Using an Instant Pot?
Sure, you totally can decarb in an Instant Pot! It’s a super easy way to decarb, especially if you’re new to it. Plus, it’s great for keeping your house smelling fresh.
Now that you’ve mastered this essential step, you have endless possibilities for yummy treats. So, go wild, experiment, have a blast. Remember, decarboxylation is your golden ticket to baking smiles with every batch!

